
How to Prep a Room for Painting: The Step-by-Step Guide Professionals Follow
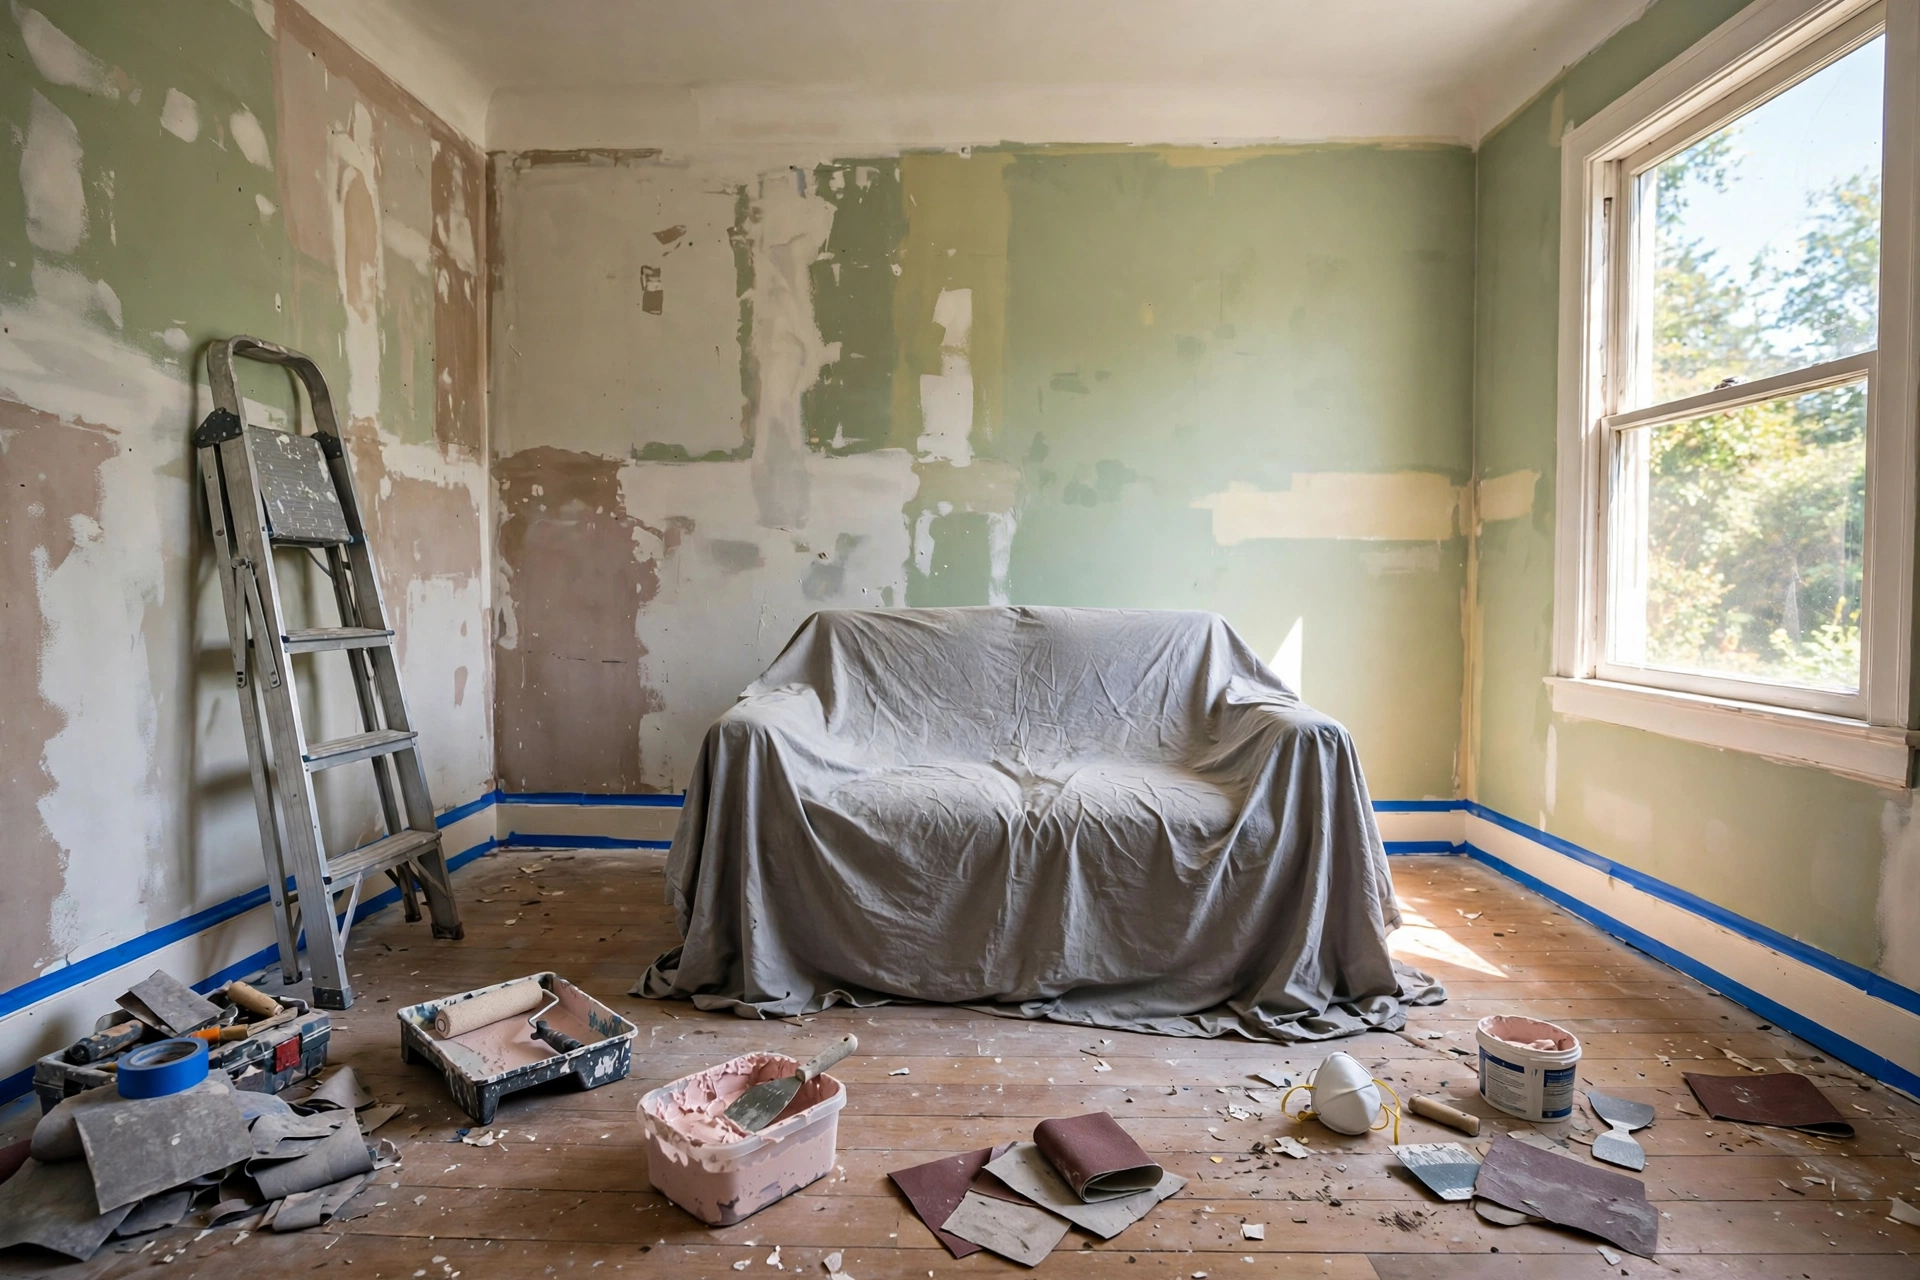
Ask professional painters what separates a great paint job from a disappointing one and most give the same answer: preparation. Paint itself is forgiving; unprepared walls are not. Ninety percent of peeling, flashing, gritty texture, and visible patches can be traced back to something that was skipped before the tin was opened. This guide walks through the exact prep sequence professionals follow, in order, so your finish looks like it was done by one of them.
What You Will Need
- Dust sheets or plastic sheeting, painter’s tape, and a step ladder
- Sugar soap or a mild detergent solution, bucket, sponge, and cloths
- Filler and a filling knife, medium and fine sandpaper (120 and 180–220 grit), sanding block
- Primer suited to your surface and problem (stain-blocking primer if there are marks)
- A screwdriver for removing fittings, and bags or labels for screws
Step 1: Empty and Protect the Room
Move out everything you can. What must stay goes into the centre of the room and gets fully covered — “mostly out of the way” furniture collects paint dust and splashes for days. Take down curtains, blinds, pictures, and mirrors. Remove switch plates, socket covers, and light fittings where practical (with the power off), and label their screws. Unscrewed fittings are the difference between crisp lines and paint-glued plates you can never remove cleanly again.
Step 2: Protect Floors and Edges
Lay dust sheets tight to the skirting boards and tape their edges down so they cannot creep. Use canvas sheets rather than thin plastic where you will walk — plastic is slippery and paint stays wet on it, so one step transfers paint around the house. Run painter’s tape along skirting tops, door frames, and ceiling edges. Press the tape edge down firmly with a filling knife or your nail; paint bleeds under tape that was only patted into place.
Step 3: Wash the Walls
This is the step amateurs skip and professionals never do. Kitchen grease, hand oils around switches, dust, and general grime all stop paint bonding properly. Wash walls from the bottom up (so dirty water does not streak clean wall) with sugar soap solution, then rinse with clean water and let everything dry completely. In bathrooms, treat any mould first with a suitable mould remover and let it dry fully — painting over mould simply hides it for a few weeks.
Step 4: Repair Every Defect
Now inspect the wall closely, ideally with a lamp held at a low angle so bumps and dents cast shadows. Fill nail holes, cracks, and dents slightly proud of the surface, because filler shrinks a little as it dries. Scrape away any loose, flaking, or bubbling old paint until you reach a firm edge, and feather the edge with sandpaper so it will not show through the new coat. For cracks that keep returning — often at ceiling joints and around door frames — a flexible decorator’s caulk or a proper repair method lasts far longer than rigid filler.
Step 5: Sand for a Flat, Keyed Surface
When filler is fully dry, sand repairs smooth with 120-grit, then give glossy or previously painted walls a light overall sand with 180–220 grit. You are not stripping the wall; you are levelling the patches and creating a fine “key” the new paint can grip. Wipe all dust off with a damp cloth or tack cloth afterwards and vacuum the skirting tops — sanding dust left behind is the main cause of gritty, speckled finishes.
Step 6: Prime Where It Matters
Primer is not a ritual; it is a targeted tool. Prime in these situations:
- Bare plaster, filler, or repairs: unprimed filler absorbs paint differently and shows through as dull patches (“flashing”).
- Stains: water marks, nicotine, and marker pens bleed through ordinary paint; use a stain-blocking primer.
- Big color changes: a suitable tinted primer can cut the number of topcoats needed, especially going dark to light or over strong colors.
- Glossy or difficult surfaces: a bonding primer gives topcoats something to hold onto.
If none of these apply and the existing paint is sound, clean, and a similar color, a quality paint can often go straight on after washing and light sanding.
Step 7: Final Checks Before the First Coat
Run through this short list before opening the topcoat:
- Room dry, dust-free, and at a reasonable temperature — cold rooms slow drying and ruin flow.
- Tape edges sealed, sheets secure, fittings removed or masked.
- Paint stirred thoroughly and, for large areas, multiple tins “boxed” (mixed together) so color is identical throughout.
- Your test patch confirmed: color and finish checked dry, in this room’s light. If you have not done this, read our guide to choosing the right paint color first — it is much cheaper than a repaint.
How Long Should Prep Take?
For an average bedroom, expect two to four hours of active prep spread over a day (filler and primer need drying time in between). That sounds like a lot until you compare it with the alternative: prep is the cheapest insurance in decorating, and the only stage where problems cost minutes instead of whole extra coats.
Frequently Asked Questions
Can I skip washing if the walls look clean?
Walls that look clean often carry invisible grease and dust, especially in kitchens and hallways. Washing is 20 minutes that protects the adhesion of everything that follows — professionals do not skip it.
Do I always need primer?
No. You need it for bare or repaired areas, stains, glossy surfaces, and strong color changes. Sound, clean, similar-colored walls often do not need a separate primer coat.
Why did my new paint peel?
The usual causes are paint applied over grease, dust, damp, or unsanded gloss — all prep failures. Peel one loose area back: whatever is on the back of the flake tells you what the paint failed to stick to.
The Bottom Line
Protect the room, wash, repair, sand, prime the problem areas, and only then paint. Follow that order and the painting itself becomes the easiest part — and the finish, and how long it lasts, will show it. Choose a durable finish for the room while you are at it with our guide to paint finishes, and prep stops being a chore and becomes the whole secret.